A SOLID BACK LEVER IS A PREREQUISITE FOR A PLANCHE
Traditionally, back levers are used in gymnastics to manoeuvre in and out of static strength elements on the rings however, in itself, it prepares the athlete to exert total body tension in a mechanically disadvantaged position.
The main muscles which bear the load to hold you up are:
Abdominals
Shoulders
Back
Chest
As with other exercises which have a degree of difficulty. Progressions onto the next stage should be done when you can perform the regression for the set target time.
TUCK BACK LEVER
Grasp the rings/bar with an overhand grip. Keeping your elbows locked out, tuck your legs up to your chest and pull down hard. Aim to get your legs through the middle of your arms.
Keep rotating around until you are facing forward again. From this position, tuck your knees into your chest, then raise your hips until they align with your shoulders.
Once you are sure your position is level, hold it for as long as possible.
Aim for 20 seconds before moving onto the next stage.
FLAT BACK LEVER
The next progression is to flatten out the back and shift your legs further away from your hands. You should be consciously attempting to make your entire back as flat as possible.
Enter the tuck-back lever position.
From the tuck, lengthen the abdominals whilst contracting the lower and middle back. Think about tilting your pelvis forward (sticking out your bum) when you do this.
Hold this position for as long as possible.
SINGLE-LEG BACK LEVER
Once you are comfortable with the advanced tuck-back lever, it is time to start extending your legs to move more of your body weight away from your hands.
Grasp the rings/bar with an overhand grip and get into a flat back lever.
Tuck one leg tightly into your chest, then start to move one leg out behind you until it is straight. Pointing your toes will help to generate muscular tension.
Hold this position for as long as you can.
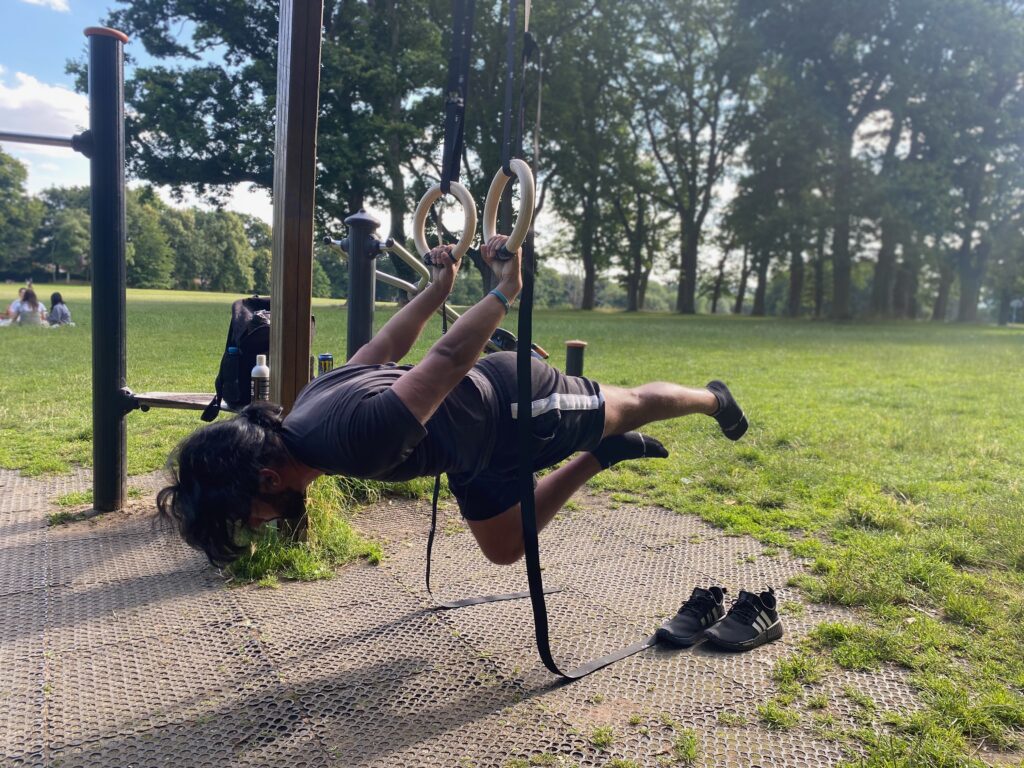
HALF LAY BACK LEVER
Once you The gap from a single-leg back lever to a full back lever is too large to jump into. The half-lay will mimic about 85% of the full strain of the full back lever.
Grasp the rings/bar with an overhand grip and get into a flat back lever.
Tuck one leg Keeping your knees bent, straighten your hips until they are in line with your back. Squeeze your lower back muscles and glutes as hard as you can to generate body tension.
Hold this position for as long as you can.
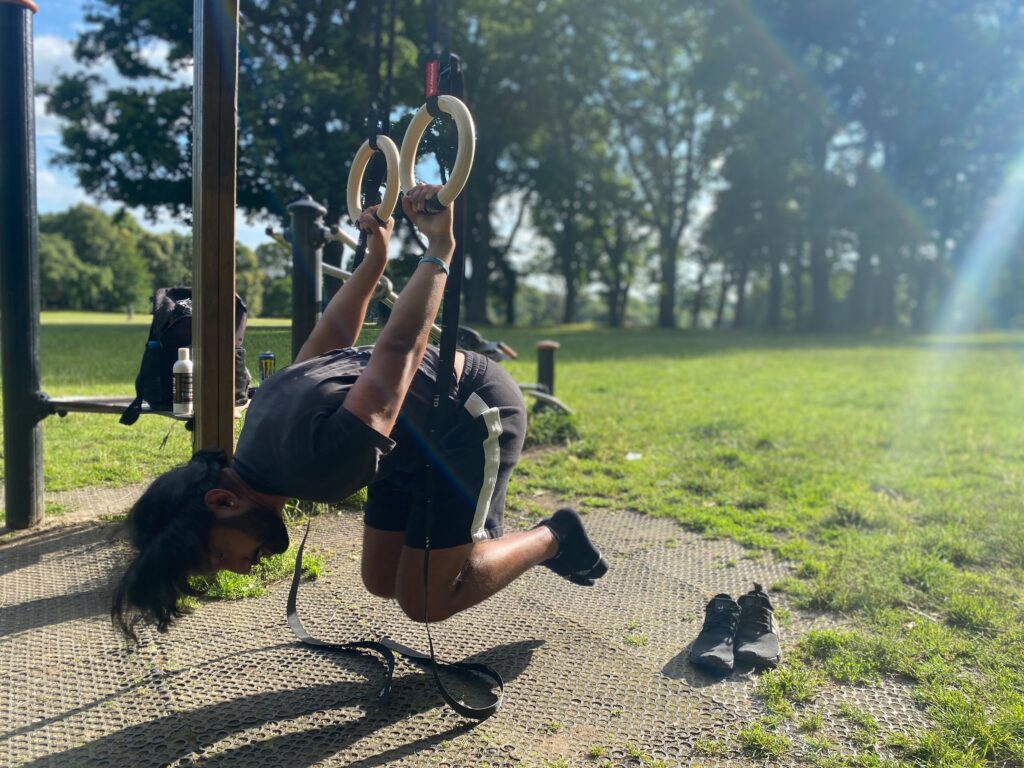
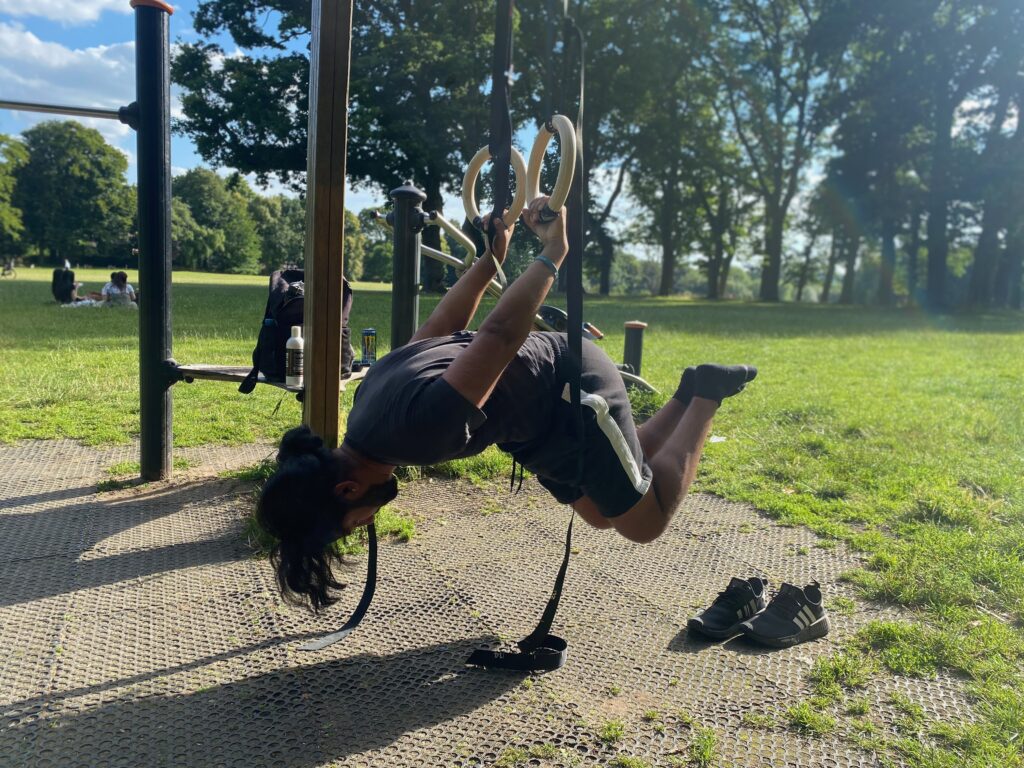
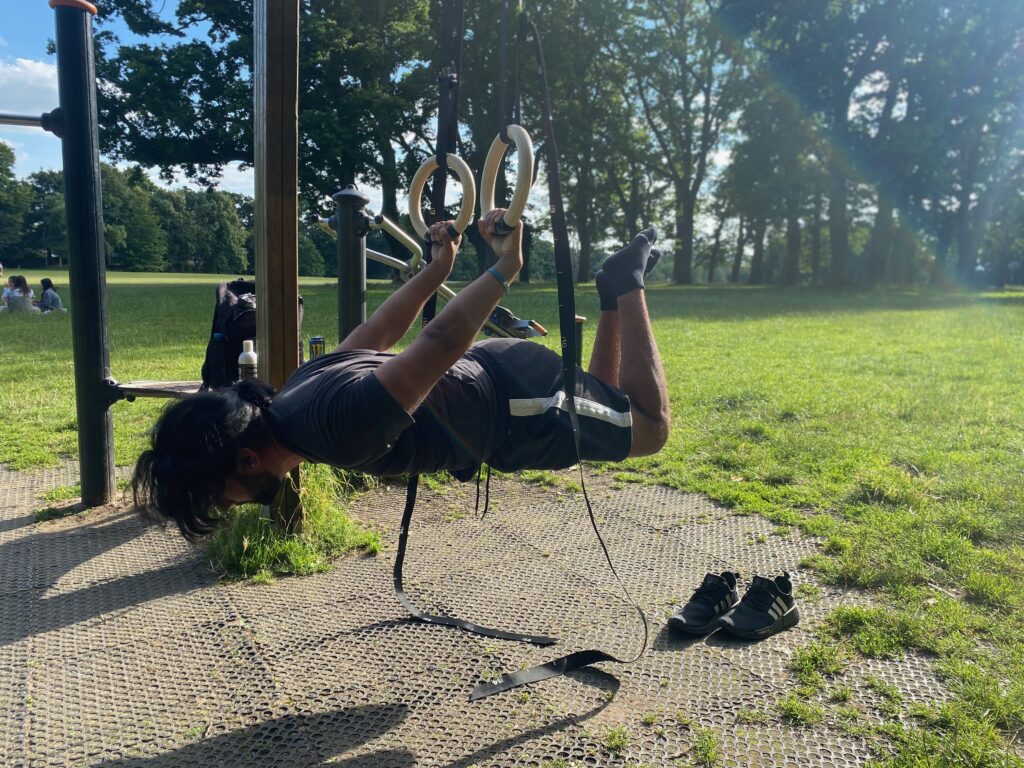
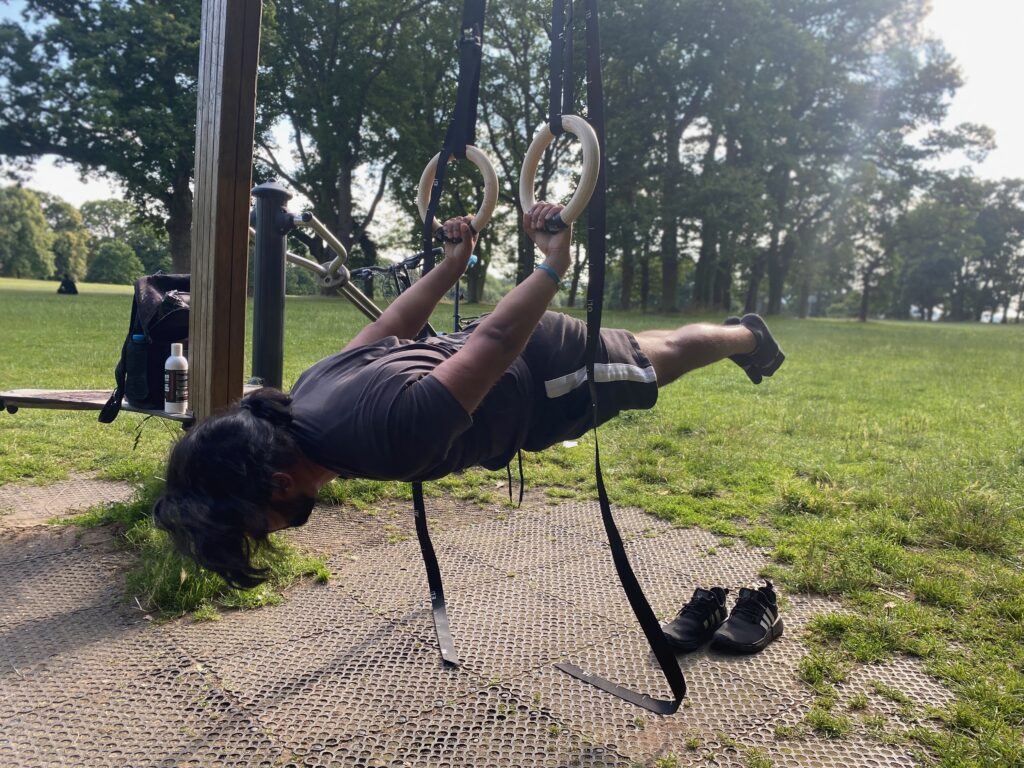
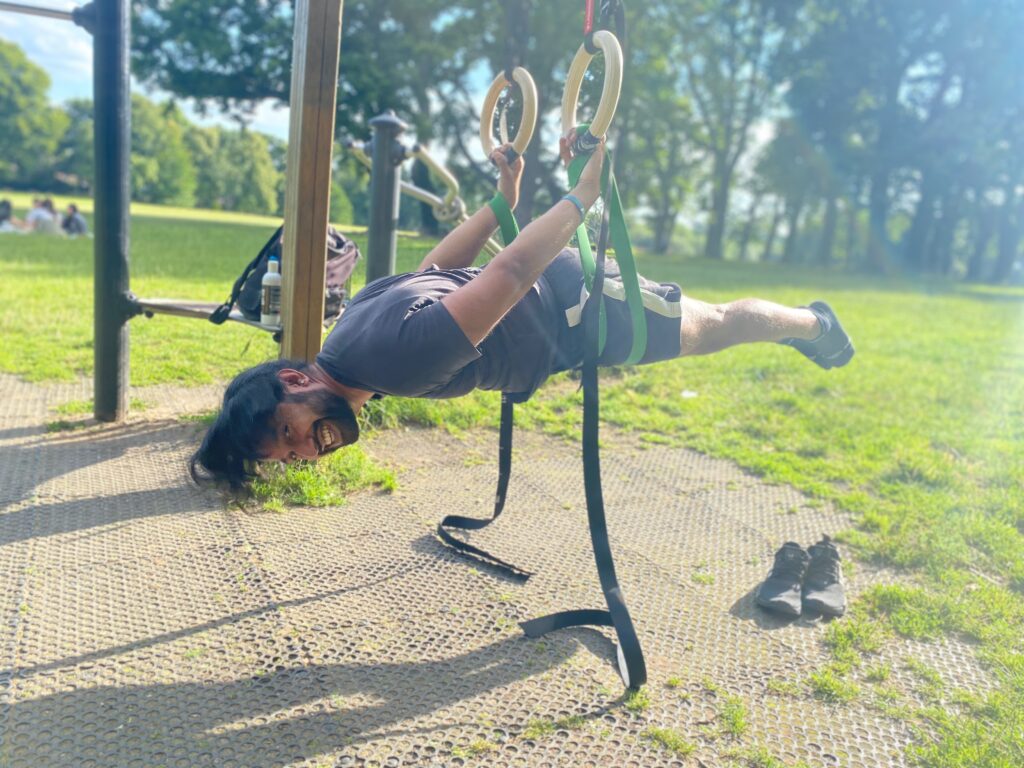
FULL BACK BACK LEVER
After you have a strong half-lay back lever it will be time for you to set the full back lever within your signts.
Grasp the rings/bar with an overhand grip and get into a flat back lever.
Tuck From this position, straighten both legs out at the same time. Point your toes and contract all the muscles in your posterior chain as hard as you can.
Hold this position for as long as you can.
The half-lay and full-back levers are very strenuous positions. Therefore, the target hold times for these progressions should be considerably shorter than the earlier stages. A hold of 5-10 seconds is the goal.
BONUS: BAND-ASSISTED BACK LEVER
Using bands allow you to train the full position of the movement where you don’t yet have the necessary strength. Incorporating bands with the above progressions should not only spice up the variety in your back lever training but also complement the time under tension we are aiming for.
Progressing with bands simply means moving onto a thinner band once you feel the current level is too easy.